

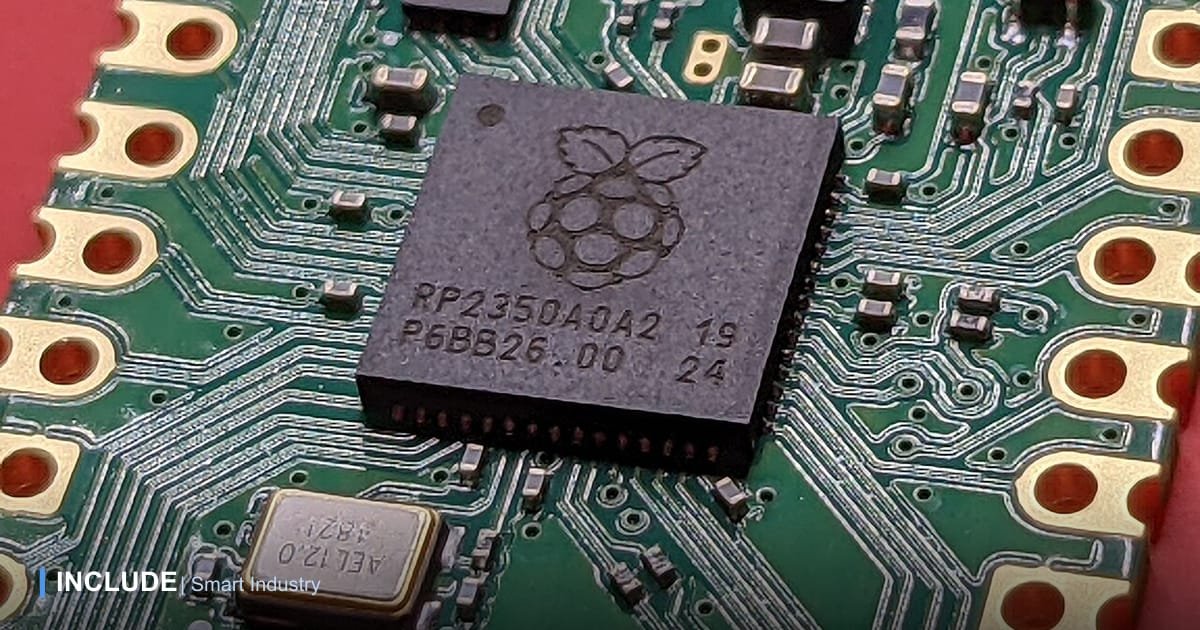
The ESP32 is a favourite microcontroller for IoT projects: cheap, with built-in Wi-Fi and Bluetooth, and programmable from the Arduino IDE. Many engineers and R&D teams use it to build their own monitoring devices. What often takes the longest comes after the sensor is read: where the data goes, how it is displayed, and how alarms are set.
This guide shows how to send ESP32 data to an IoT platform, over HTTP or MQTT, so you can focus on the device instead of building a backend and dashboard from scratch.
Step 1: register the device
Before sending data, the device must be registered on the platform so it is recognised. On the INCLUDE platform, your own devices are registered from the Manage Devices page as BYOD devices. Once registered, you get a device token, the key the ESP32 uses to send data. Keep the token like a password.
Also choose a device type whose parameters match your data, such as temperature or voltage. Field names in the data you send must match these parameter names to appear in widgets.
Step 2: send data over HTTP
HTTP is the simplest way to start. Data is sent as JSON with values inside a values object. Sample Arduino code for the ESP32:
#include <WiFi.h>
#include <WiFiClientSecure.h>
#include <HTTPClient.h>

const char* WIFI_SSID = "NAMA_WIFI";
const char* WIFI_PASS = "PASSWORD_WIFI";
const char* URL = "https://app.include.co.id/api/v1/DEVICE_TOKEN/telemetry";

void setup() {
  WiFi.begin(WIFI_SSID, WIFI_PASS);
  while (WiFi.status() != WL_CONNECTED) delay(500);
}

void loop() {
  float suhu = 29.5; // replace with your sensor reading

  WiFiClientSecure client;
  client.setInsecure(); // for testing; install the root CA certificate in production
  HTTPClient http;
  http.begin(client, URL);
  http.addHeader("Content-Type", "application/json");
  String body = String("{\"values\":{\"temperature\":") + suhu + "}}";
  int status = http.POST(body); // 200 means the data was accepted
  http.end();

  delay(60000);
}
Replace DEVICE_TOKEN with your device token and temperature with the matching parameter name. Before writing code, you can also test from a computer with curl to confirm the token and data format are right.
Step 3: or send over MQTT
For devices that report often or need to receive commands, MQTT fits better. The usual pattern:
- Fetch the broker and topic configuration from the
mqtt-configendpoint with the device token, so you never build the topic by hand. - Connect to the broker with the device ID as username and the token as password.
- Publish the same JSON to the telemetry topic.
- Subscribe to the command topic if the device should be controllable from the dashboard.
The difference between HTTP and MQTT is covered in more depth in what is MQTT.
Tips for stable devices in the field
- Handle dropped connections. Check Wi-Fi status before sending and reconnect when needed, so the device does not stop forever after a router restart.
- Choose a sensible send interval. Every few seconds is rarely needed for temperature or humidity. Longer intervals save power and data.
- Use deep sleep for battery devices. The ESP32 can sleep between sends and wake on schedule.
- Use a watchdog so the device restarts itself if the program hangs.
- Never put the token in a public repository. A leaked token lets others send fake data.
Step 4: view the data and set alarms
As soon as the first reading arrives, the device status turns online and its value appears on the dashboard. From there you can build widgets by drag-and-drop, set thresholds, and add alarms. If data does not appear, check three things: the token, the field name, and the device status on Manage Devices.
From prototype to production
A prototype on the bench and a device in the field have different needs. When moving to production, consider an enclosure suited to the environment, a stable power supply, correct TLS certificates, and a way to update firmware without a site visit. The last topic is covered in OTA firmware updates.
Test first with curl
Before writing firmware, confirm the token and data format with one command from a computer:
curl -X POST https://app.include.co.id/api/v1/DEVICE_TOKEN/telemetry -H "Content-Type: application/json" -d '{"values":{"temperature":29.5}}'If 29.5 appears on the dashboard, the path is right and the same logic just needs moving to the ESP32. This separates network and platform issues from device code issues, making debugging much faster.
Frequently asked questions
Do we have to use IncludeBox hardware?
No. The INCLUDE platform accepts data from your own devices such as ESP32, Arduino, or Raspberry Pi over HTTP and MQTT.
Why is data sent but not shown in a widget?
Usually the field name does not match the device type parameter. The data is still stored, but built-in widgets only show recognised parameters.
Does the ESP8266 work too?
Yes. The principle is the same; only the Wi-Fi and HTTP libraries differ slightly.
Try it on the free plan
The INCLUDE platform has a free Community plan with no time limit and a quota of 3 devices, enough to try your first ESP32. The full technical steps are in the documentation pages send data from your own device and API reference.
Building your own IoT device?
Tell us about the device and the data you want to send. The INCLUDE team will help set up the device type and dashboard.
Free consultation on WhatsApp → See the INCLUDE platform →